Insanely Flaky Pie Crust

Flaky, savory and the perfect bite-through. This is it!
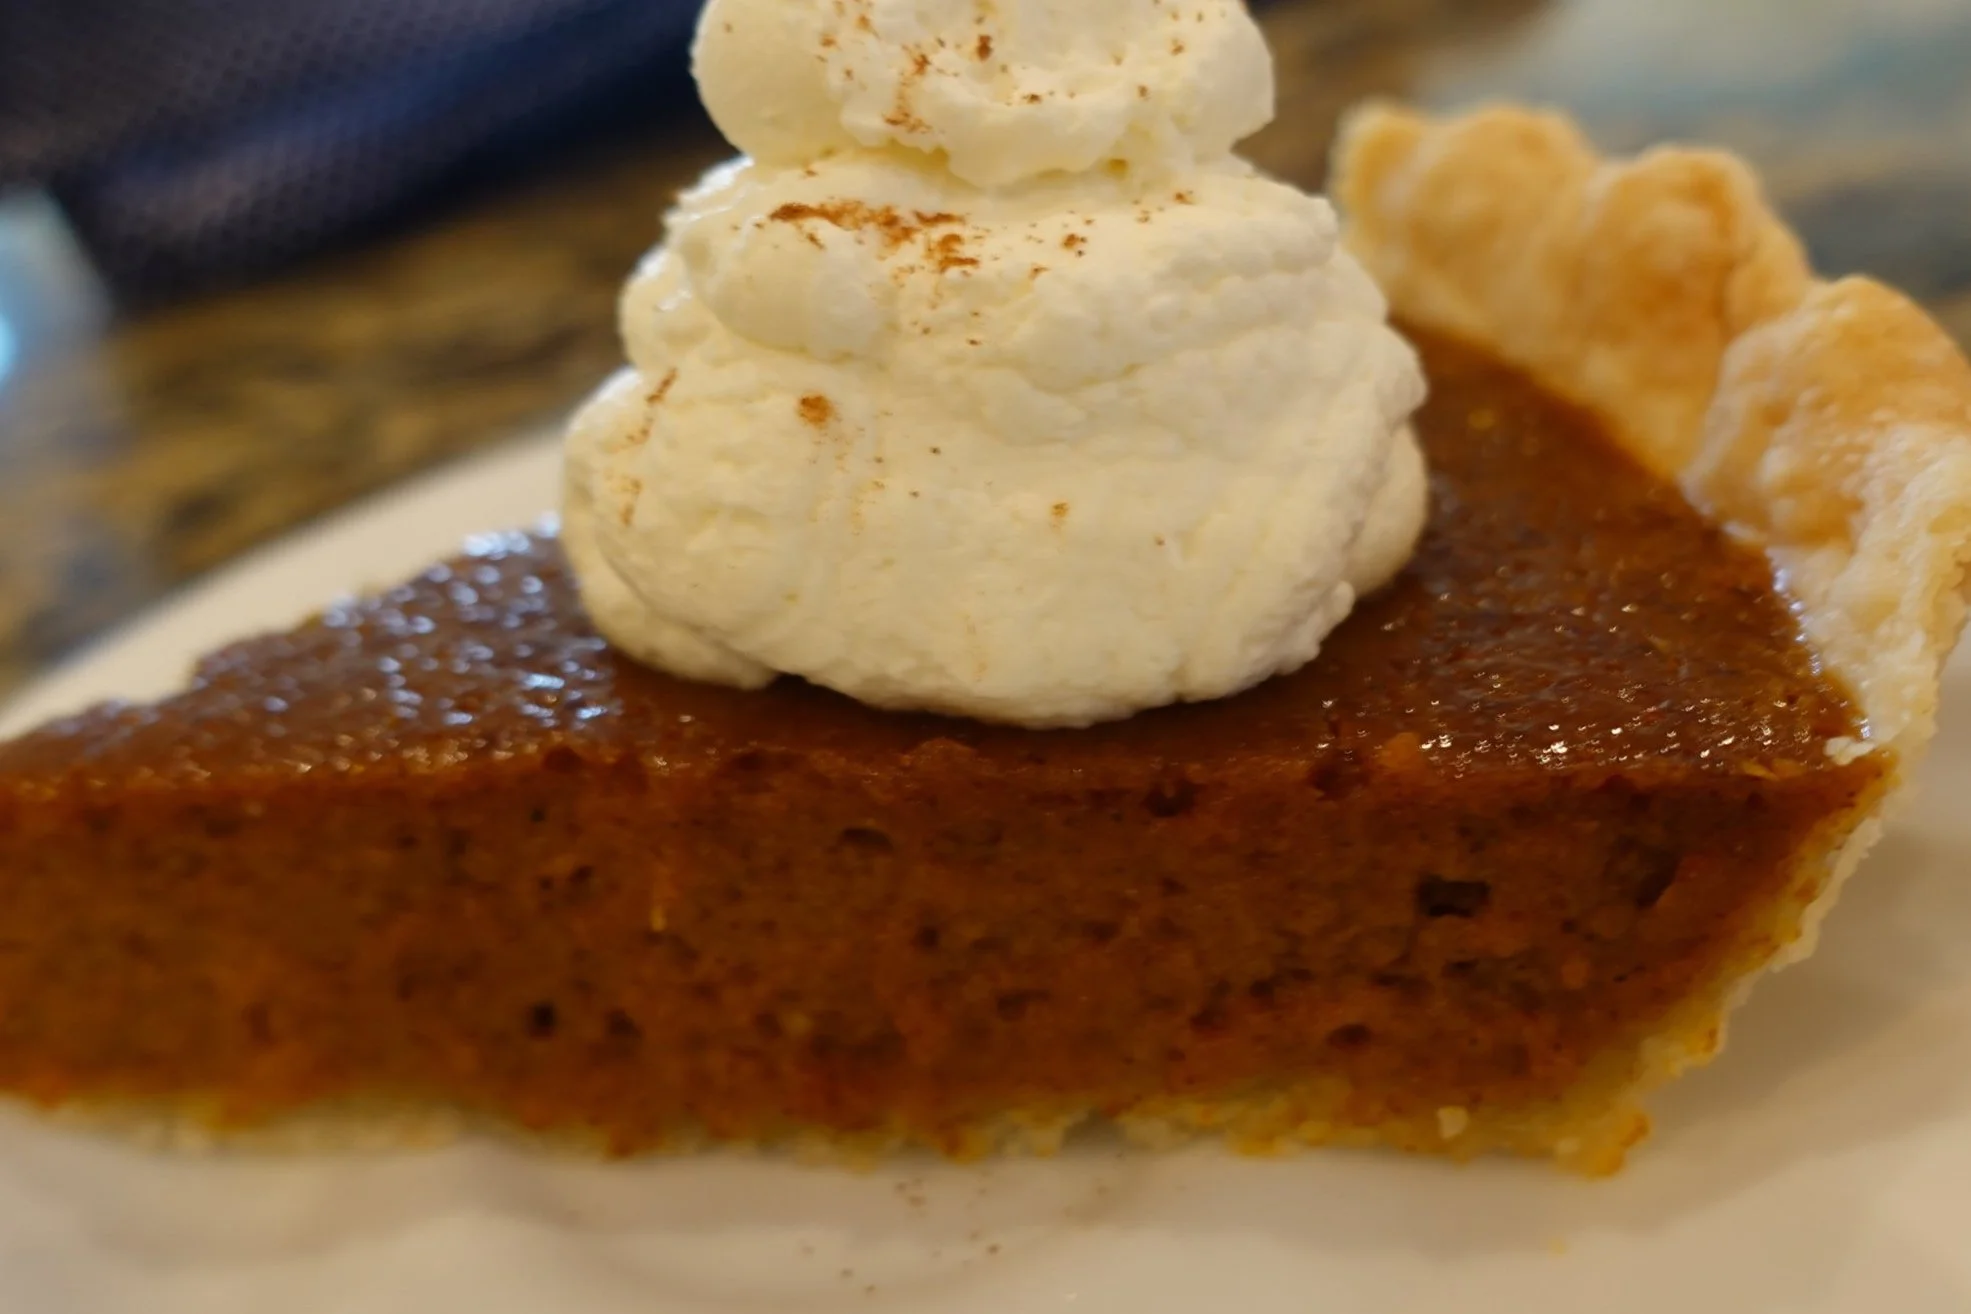
This piecrust recipe is the bomb. Without bragging, people tend to throw out their recipe, and replace it for this one. It is incredibly flaky and flavorful with just the right amount of salt (the milk and vinegar mixture is a game changer.) The flavors of savory and sweet compliment one another wonderfully. Be careful though, once you make a crust, people will be asking you for the recipe. I know pie crust can be fickle at times and a bit intimidating, but this recipe will put those worries to rest. It can be chilled or used immediately. I use it for double crust pies, filling pies, and for pre-baked pies. My favorite pies are apple, pecan, banana cream, and for a savory contrast… chicken pot pie.
Ingredients needed:
2 cups flour
1 cup shortening (I prefer Crisco)
1 tsp salt
1/3 cup milk
1 tablespoon distilled white vinegar
Steps for making the crust:
Combine milk and vinegar in a small bowl, stir, and set aside. (You’re making buttermilk)
In a medium bowl, combine flour, shortening and salt. Use a pastry cutter, fork, or your hands to combine into a crumbly pea-sized mixture. It’s okay if some chunks are bigger than others, just aim for a mixture where the flour and shortening is combined throughout and somewhat evenly dispersed. (I find using my hands is the easiest and most effective because I can feel chunks that are big and need to be broken up and 10 fingers can make it very crumbly. Haha)
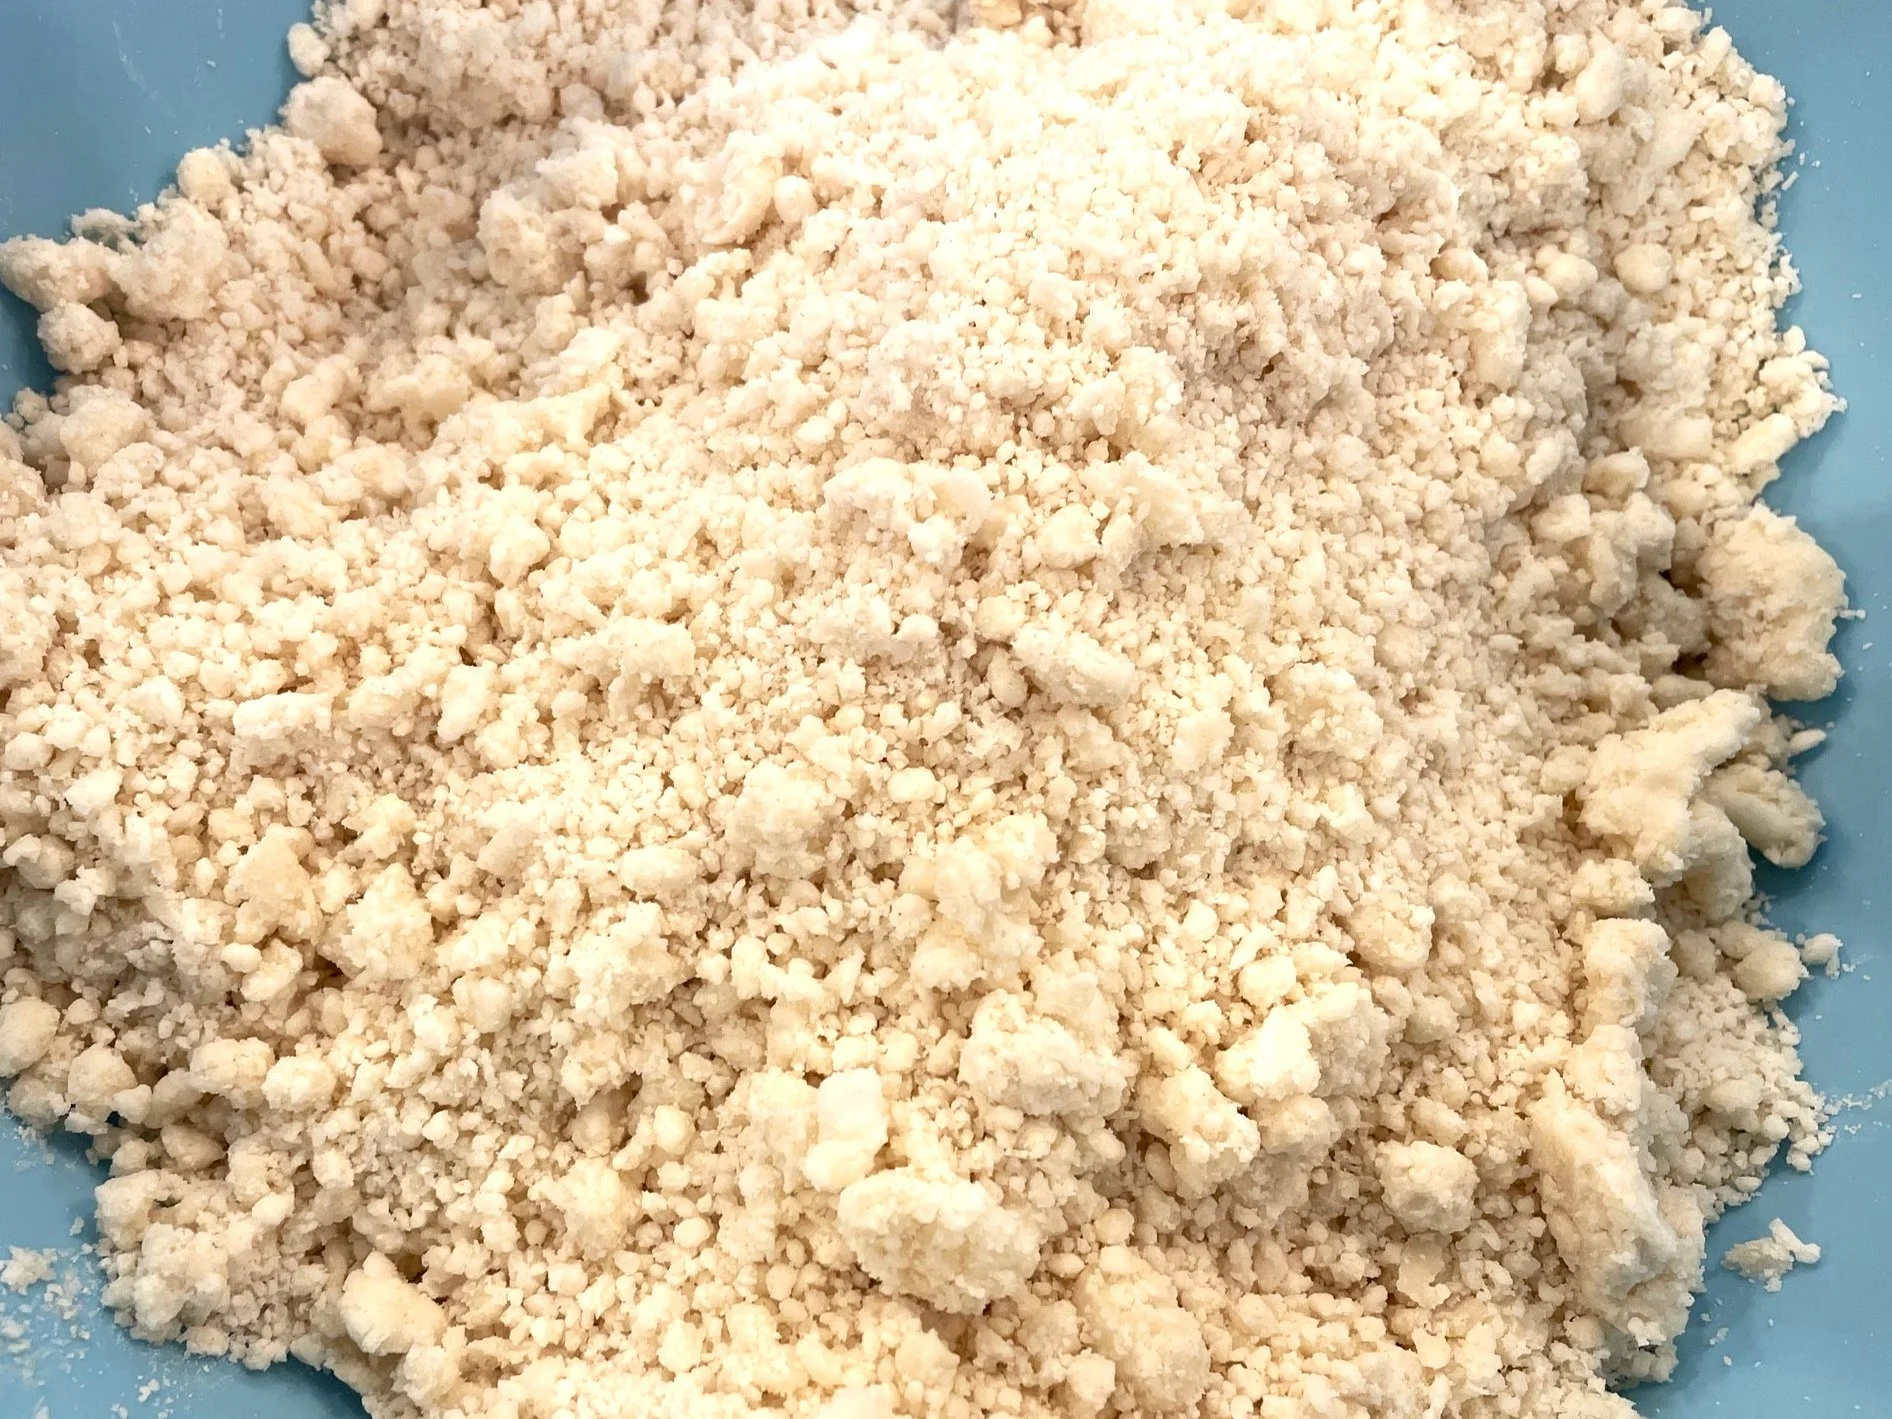
The crumbly crumble mixture…
3. Once the flour mixture is nice and crumbly, pour in the milk and vinegar mixture. Stir it around with a fork. Once you stir a little bit, bring it together with your hands until just combined, being careful not to overwork it. Form the dough into two evenly sized round discs. It doesn’t require refrigeration, but if you’re not using it immediately, wrap them in plastic wrap and store in the refrigerator for up to 2 days. If you refrigerate it overnight, let it warm up for 30 minutes before you roll it out, otherwise It will be harder to work with and may crack while rolling.

When the pie filling and crust are cooked together.
Assembly for a single crust filling pie such as pecan or pumpkin
Layout a piece of parchment paper large enough to hold a standard size pie crust about 12 inch in diameter, allowing enough crust to overhang the edges about a half inch. Cover the parchment paper with a thin layer of flour to keep the pie crust from sticking. Add more flour accordingly.
Set your pie crust disk in the center of the parchment paper. Sprinkle a thin layer of flour over the top to prevent the crust from sticking to your rolling pin.

Ready to roll!
3. Begin rolling it out into about a 12 inch circle. (It doesn’t have to be perfect.) If dough is sticking to the rolling pin than coat the rolling pin with a thin layer of flour. It’s better to use less flour at the beginning and add more when needed.
4. Once it’s shaped to your best version of a circle, lift the parchment paper with the dough and flip it over as you set it evenly over your pie plate or deep dish (whatever you’re using). Pull off your parchment paper. Push down the crust into the bottom of the pie plate gently, leaving about ½ inch of crust laying over the edge of the pie plate. Fold the crust under to the edge of the pie plate and pinch together with fingers. (See photo)
5. Cook this crust according to your pie filling recipe. Cooking my pie crust at 350 degrees keeps my crust from burning and I never have to use aluminum foil to prevent the crust from getting too dark.

Double crust pie… oh my!
Assembly of a double crust pie such as apple pie or chicken pot pie
Follow all of the steps above, but on step four cut off the edges, rather than fold under and pinch because the top crust will lay on the edge of the bottom crust and you will pinch those two sections together.
Once you have your second crust rolled out and your filling mixture in your bottom crust, lay your top crust over the top of your filling mixture and let the crust layover the edges a bit. Use a butter knife to remove the excess crust along your edges. If you find you have some gaps at the edge or thinner spots, use some of the excess crust and press it in to those barren spots. Crust is easy to manipulate. Seal the top and bottom crust edges together with your desired aesthetic. I usually just pinch the two together.
Last and final step. Get a knife and slice the shape of an “X” in the center so steam can escape as the filling cooks. You’re ready for the oven.

Pre-baked pie crust. This one is destined for a banana cream pie.
Assembly for a Pre-baked pie crust used in banana cream, coconut cream and others.
I recommend buying a metal pie plate to keep the crust from shrinking. I’m sorry if you don’t have one already and are wanting to make one right now. That can be frustrating. Glass should work if you follow these steps, just not quite as well.
Follow steps 1-4 for a filled pie recipe above.
Once you have your pie crust in your pie plate, gently press the inside of your crust against the surface area of your pie plate with your fingers to prevent shrinkage.
Once it’s assembled, allow the crust to chill for about 20 minutes.

5. After it’s been chilled, put a piece of parchment paper in the center filled with dried beans (I use pinto beans) filled almost to the top edge of the crust, this will help keep the crust shape and size.
6. Once your pie begins to brown slightly in the oven, remove the parchment paper and beans. Put your crust back in the oven until the bottom is cooked and you will have a nice golden brown crust on the edges. Hurray, you’re done!
No matter the pie…, this is THE crust.
You no longer need to search other places for a pie crust recipe. This recipe works for any style of pie you desire. I have success time after time and it’s the best crust I have eaten thus far, and I have tried many. I hope you find the same results. Enjoy!
- The Flower Fanatic